Consultant Management
Note: Only company Executives can manage the Consultants.
In order to add a new consultant, click the YouRecruit logo (top left).
In the main Dashboard click on Consultants on the left hand side of the page.
In the submenu click on the blue Add New Consultant button. This will bring you onto the Edit Consultant page.

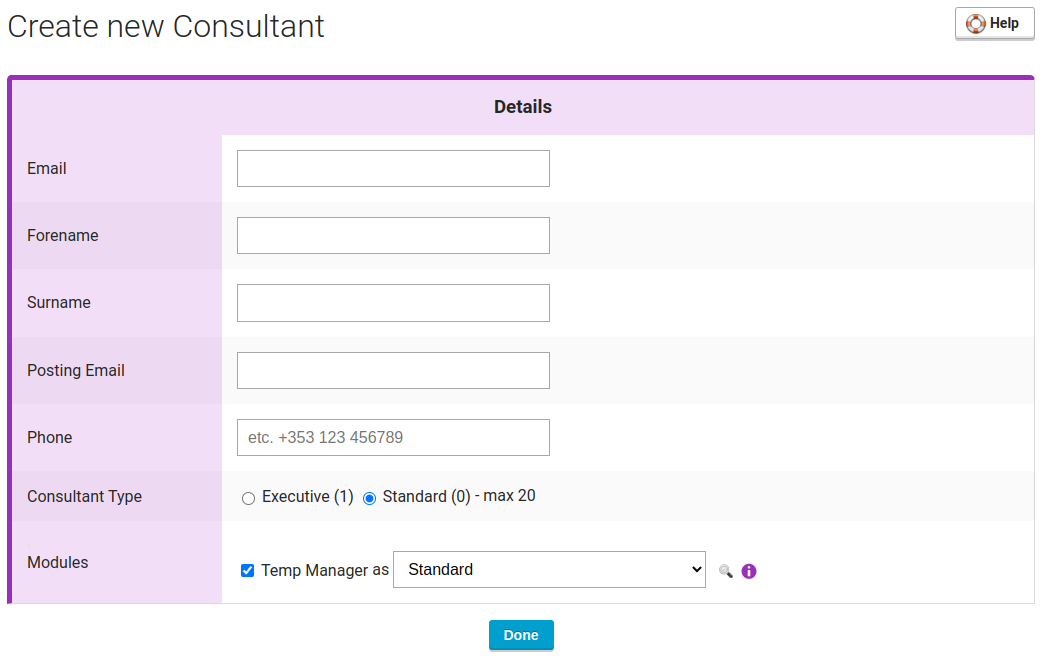
Add new Consultant
You will now see a list of fields where user details can be inserted such as forename, surname, phone, email, address (Username is the email address).
You can select the Consultant Type by clicking on the radio buttons for either Company Administrator or ordinary User.
Subordinates (Primarily for the posting module – can be ignored if using Temp Manager only).
The last Modules field provides you with a dropdown menu where you can select which module you require. (Job Posting or Temp Management).
Consultant types – Set the user type as per the table above. This field will not appear for Company Admins. Click on the information icon to the right of the Consultant type dropdown for more info.

Tempman additional settings
Batch uploader – when assigning timesheets the employee manager will be set as timesheet assignee instead of the user who changed the timesheet status.
Consultant types
A consultant can be one of three types:
- Executive – Has full access rights within the account.
- Standard – Access rights are set using permission groups.
- Service – A bot consultant for internal automation, this needs to be set by your YouRecruit administrator
We recommend setting only one person as an executive and setting this as standard with specific permission groups to the remaining users.
Consultants permission groups
Permission group sets what a standard consultant can do. Global groups that are always available are as follows:
| Permission group | Permission description |
| Executive |
|
| Manager |
|
| Supervisor |
|
| Finance |
|
| General |
|
| Timesheet Coordinator |
|
| Compliance Administrator |
|
If you are unsure which pemissions to choose, we would suggest assigning the consultant type to standard and permission group to general.
If none of the groups match the permissions you will require an Executive consultant to create a new one. To do this, navigate to the Permissions Groups list through the top right button on the List of the consultants page. Then hover over the permission group that is closest to the one you need (we recommend finding the closest group with lower permissions) and click the magnifying glass. At the bottom of the page click the Save as new button to create your custom Permission Group. This new group will have the Custom type, which will be visible only within your own company. Initially it will be named as Name of Original Group Clone.
You can edit this group to rename it and change its permissions. Note that before you can start editing the permissions you have to click on the Enable Edit button in the top right submenu.
Note that some permissions have relations between each other, specifically:
- Require parent permission (will be added automatically when child permission is selected).
- Overrides specific permissions. The overridden permission will have a green checkmark instead of a checkbox.
- Conflicts with specific permissions. The conflicting permission will have an orange icon instead of a checkbox.
Additionally on the Permissions Group Edit page you can click the Permission Group Entities show button in the top right submenu to see who has the group assigned to them.
Permissions Groups Compare
To quickly see which permissions each Permission Group has in comparison to other groups, you can use the Permissions Groups Compare page which is found via the Permissions Groups list in the top right submenu.